Using the Alerts Center
For: Administrators, Caregivers, Nurses
How the Alert Center works in ALIS
The Alert Center in ALIS is reached via this icon on the Dashboard:

The Alert Center stores all alerts that have been generated for you. Please note that if you are a community or company administrator, you also have the ability to see all alerts that were generated in the communities that you have access to. Additionally, you can always see all of the alerts that have been generated for a particular resident, regardless of whether you are subscribed to all of the alerts that were generated for that resident.
Regardless of the alert preferences that you have configured in ALIS (see the “Alert Configuration cheat sheet – Staff” for details on how to do this), you can always see your alerts in the Alert Center. This means that if you do not configure ALIS to notify you via an email or an SMS about each alert, you can still access the alerts in the Alert Center.
The Alert Center is split up into multiple tabs, to make it easier for you to find the information that you want. Each of these tabs is explained below.
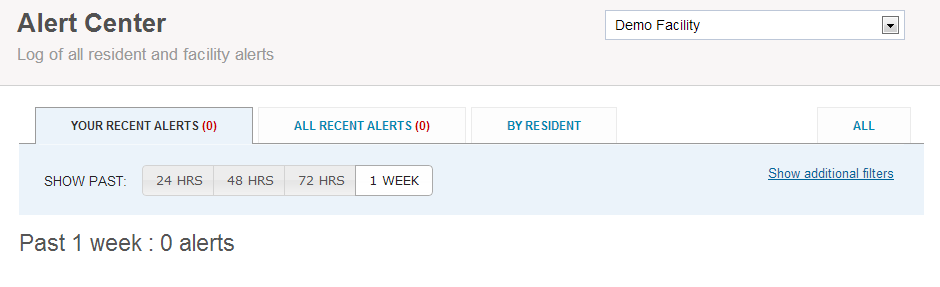
Your Recent Alerts Tab
This tab allows you to see all the alerts that you are subscribed to that have been generated in the last 24 hours, 48 hours, 72 hours or 1 week. The red number in parenthesis always reflects the number of new alerts in the last 24 hours
Show Past
You can change the range of recent filters by clicking on the appropriate show past button:
Please note that only company and community administrators will be able to see the “All Recent Alerts” tab.
Additional filters
If you want to filter the alerts further, follow these steps:
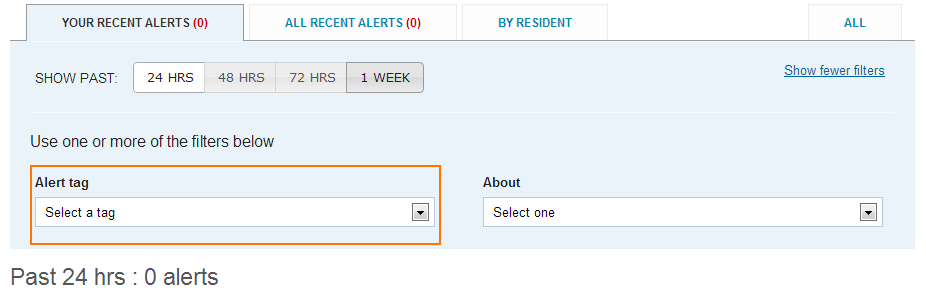
- Click on Show additional filters:

- To see only alerts about a specific module in ALIS, select a choice from the “Alert tag” dropdown:
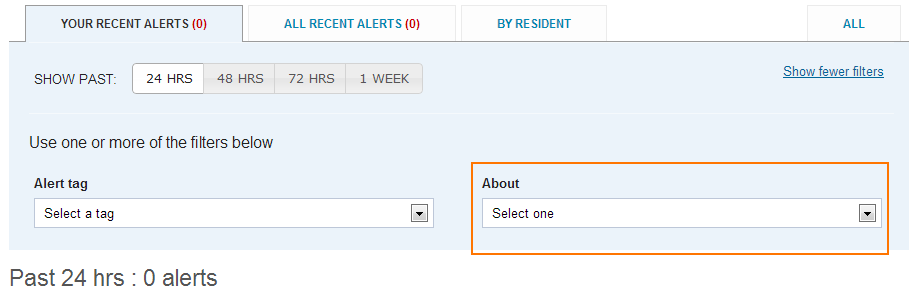
- To see alerts about a specific entity (e.g. resident or prospect), select a choice from the “About” dropdown:


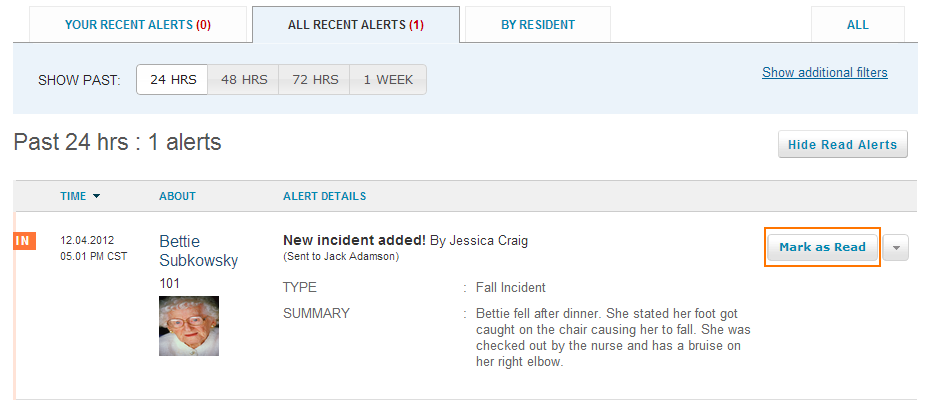
Mark Alert as Read/Unread
You can mark an alert as read by clicking on the “Mark as Read” button:
You can mark an alert as unread by clicking on the down arrow next to a read alert, and clicking on the “Mark as unread” link:

Hide/Show Read Alerts
You can hide all read alerts by clicking on the “Hide Read Alerts” button in the Alert Center:
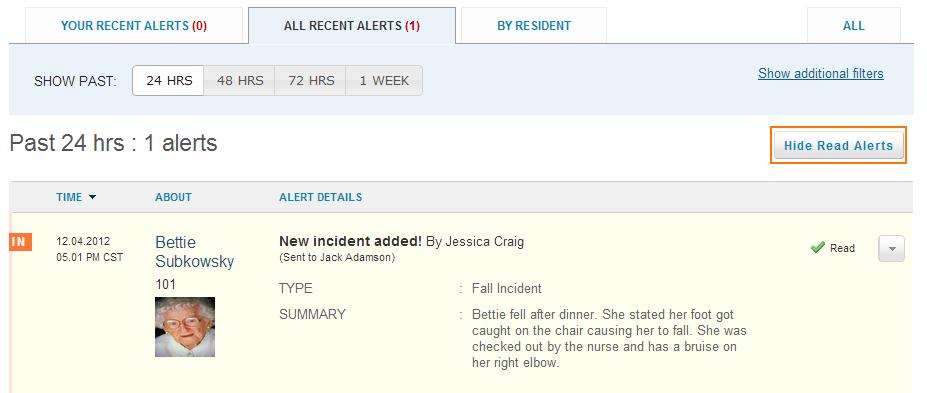
This will remove all read alerts from the page. These alerts will not be deleted, however, and you can bring them back by clicking on the “Show Read Alerts” button:

View details of an alert
You can jump to the area of ALIS that an alert is related to by following these steps:
- Find the alert in the Alert Center
- Click on the arrow on the right edge of the Alert:

- This will present you with a link to the area of ALIS that the alert is related to. Clicking on this link will take you to that area of ALIS:


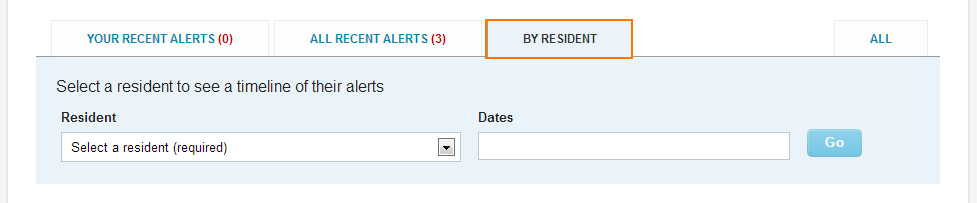
By Resident Tab
This tab allows you to see the alerts for a particular resident in a specific date range, regardless of whether you were subscribed to the generated events or not.
To see the alerts for a specific resident, follow these steps:
- Log into ALIS and go to the Alert Center
- Select the “BY RESIDENT” tab:
- Select the desired resident in the “Resident” drop down
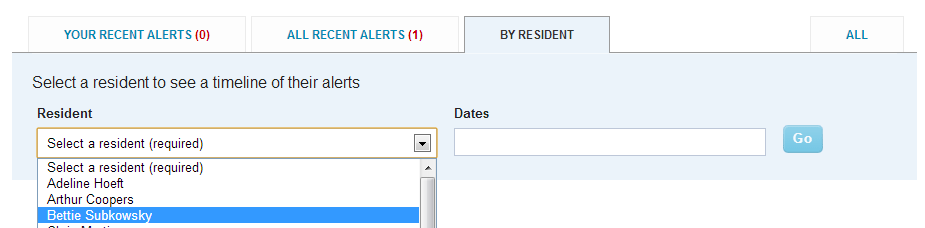
- Select a date range in the “Dates” dropdown:
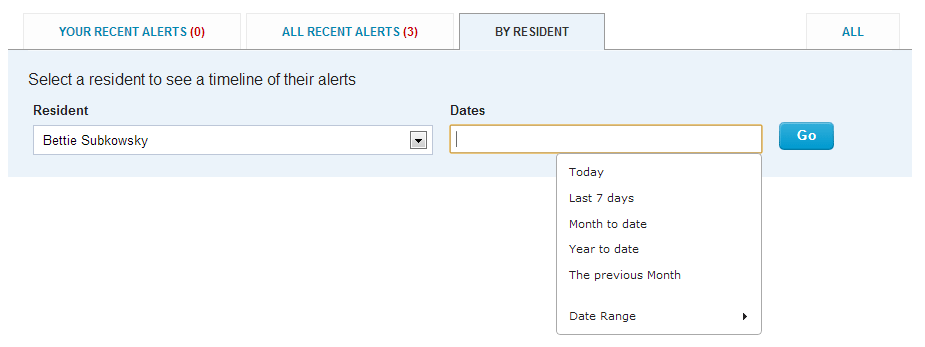
- Click on the “Go” button. All alerts that were generated for the selected resident in the date range will be displayed.


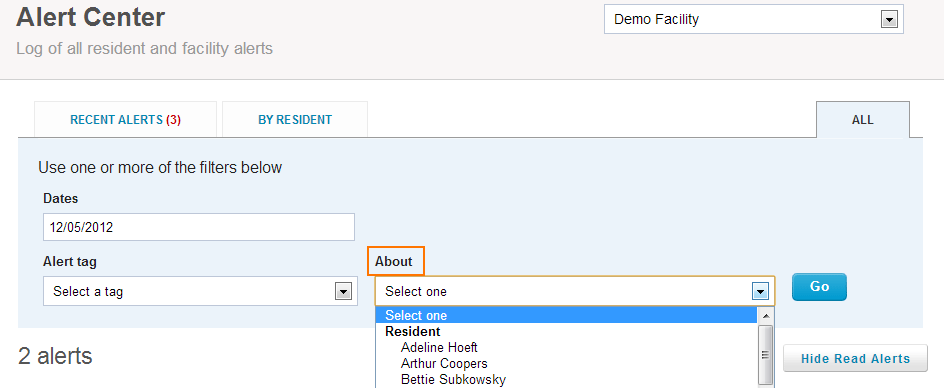
All Tab
This tab allows you to see all the alerts that you are subscribed to. By default only the alerts from today are displayed, but using the available filters you can see change which alerts you can see.
To filter the alerts that are displayed, follow these steps:
- Go to the Alert Center
- Select the “ALL” tab:
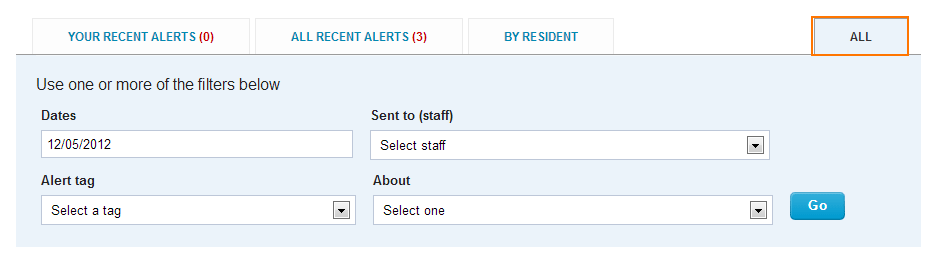
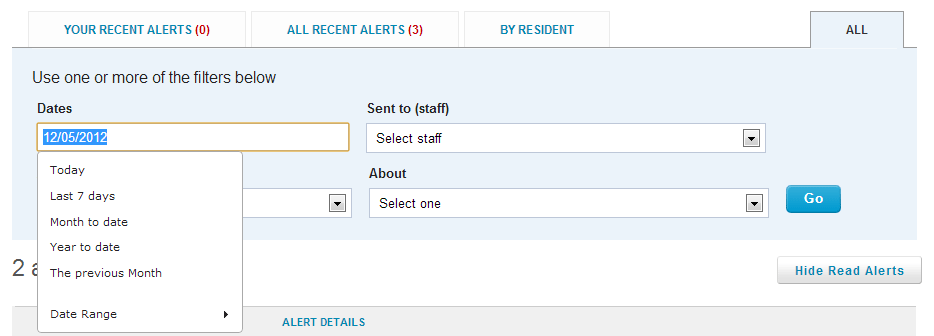
- To change the date range of the alerts that are displayed, select a date range in the “Dates” dropdown:
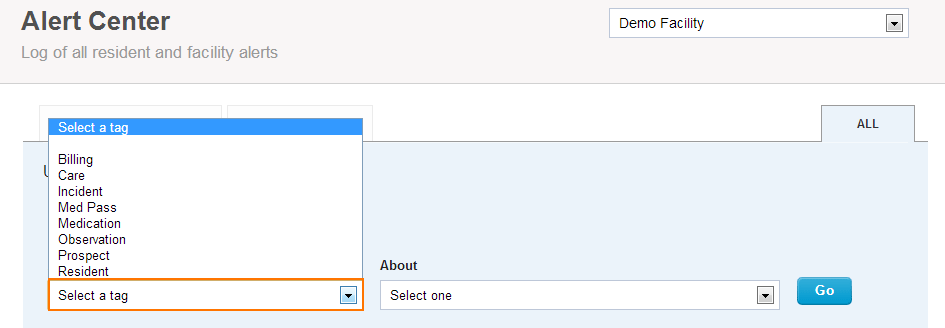
- To see only alerts about a specific module in ALIS, select a choice from the “Alert tag” drop down:
- To see alerts about a specific entity (e.g. resident or prospect), select a choice from the “About” dropdown:
- Click on the “Go” button
- All relevant alerts will be displayed


All Recent Alerts Tab (Administrators Only)
This tab allows company and community administrators to see all of the alerts that have been generated at the communities that they have access to.
This tab differs only slightly from the “Your Recent Alerts. The “All Recent Alerts” tab will display each alert that was sent to each staff member in ALIS. This means that if you have ten staff members subscribed to the marketing alert category when a new prospect is added, the “All Recent Alerts” tab will display ten “New Prospect Added” alerts.
The “All Recent Alerts” tab has the same filters and buttons as the “Your Recent Alerts” tab, as well as one extra filter, “Sent to (staff)”. This filter allows you to see only the alerts that were sent to a particular staff member.
For details on the other filters and buttons in the “All Recent Alerts” tab, please refer to the “Your Recent Alerts” section above.