
Creating New Compliance Items
For: Administrators, Nurses
When creating a new compliance item for your residents, staff, or community- there are a few things to keep in mind:
Does a document need to be marked up first or will you just be uploading a document from your computer?
- If a document needs to be marked up, contact your implementation manager or support@medtelligent.com
- If you will just be uploading a document, such as a CPR card or a Nursing License it is not necessary to contact Medtelligent.
What is the difference between “Create and Apply to All” and “Create Going Forward”?
- Create and Apply to All – If you are creating a compliance item for the first time you would click this button. This would make the compliance item available to all staff or residents for the first time. This will drop down the compliance level for each resident if it is required since the document will be marked as incomplete.
- Create Going Forward – If the compliance item already exists for all residents or staff, and you are simply updating the template, you would click “Create Going Forward”. The next time you open the item under a staff or resident profile the latest template will be available. Note: If the compliance item already exists and you click “Create and Apply to All” it will cause this compliance item that has been completed for a staff member or resident to be marked as “Incomplete” causing their overall compliance level to drop.
Creating a New Compliance Item
- Click on “Settings”
- Click on either Resident, Staff, or Community Settings depending on what group the item applies to. The screen shots used in this guide are from the Resident Configuration.
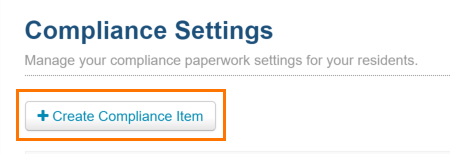
- Under “Compliance Settings”, click on “Create Compliance Item”
- Enter the name of the Compliance Item, for example “CPR Card”
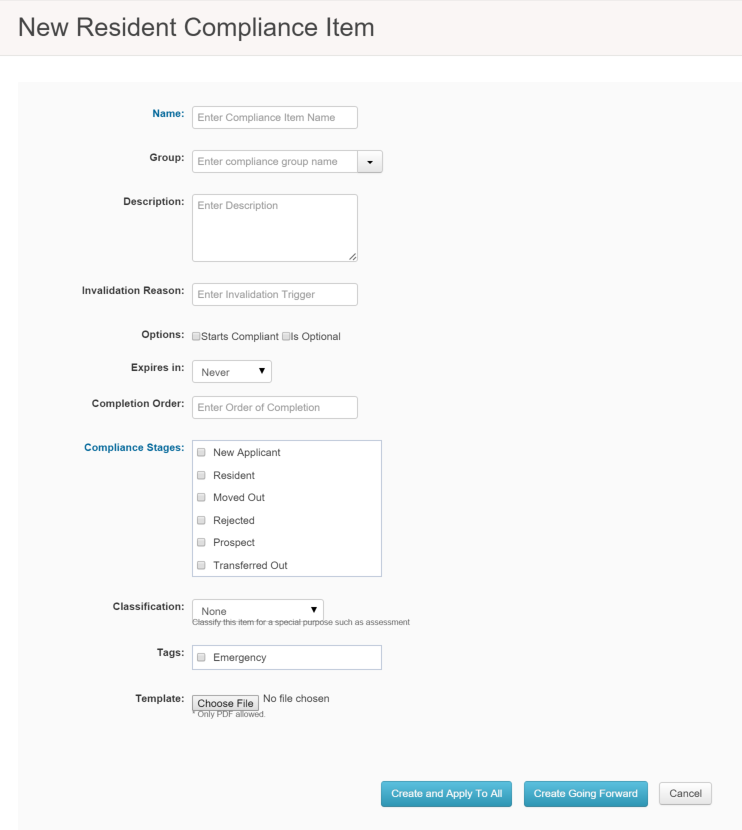
- If the compliance item is optional click the “Is Optional” box. If it is a mandatory item, you do not need to check anything.
- From the “Expires in” dropdown menu you can select how often the compliance item expires. For example, if the item expires annually you would select 1 year.
- Select the compliance stages this item applies to: Resident, Applicant, Hired Staff, etc.
- If there is no template to attach click “Create and Apply to All”. This will make the compliance item available to all the staff or residents within the community. You can now access the item under each staff or resident profile. If you need to upload a file to each staff members profile, please see the “Creating and Updating Compliance” guide – Scenario 2.
- When you have created all compliance items, you can click and drag to rearrange the items within their respective groups.


