
How to add Billing Items in ALIS
In order to update the list of Billing Items we can charge to a resident account, we must add them individually to Billing Settings. Here we have an option to add and edit these in bulk from a spreadsheet template if you have many to add or update all at once! Doing this will require administrative permissions.
- Click the Settings link at the top right of your ALIS screen. In the billing section, click the Billing link.
- Now that we are in Billing Settings, click on the Private tab to access the area where we can view and modify our bank of Billing Items.
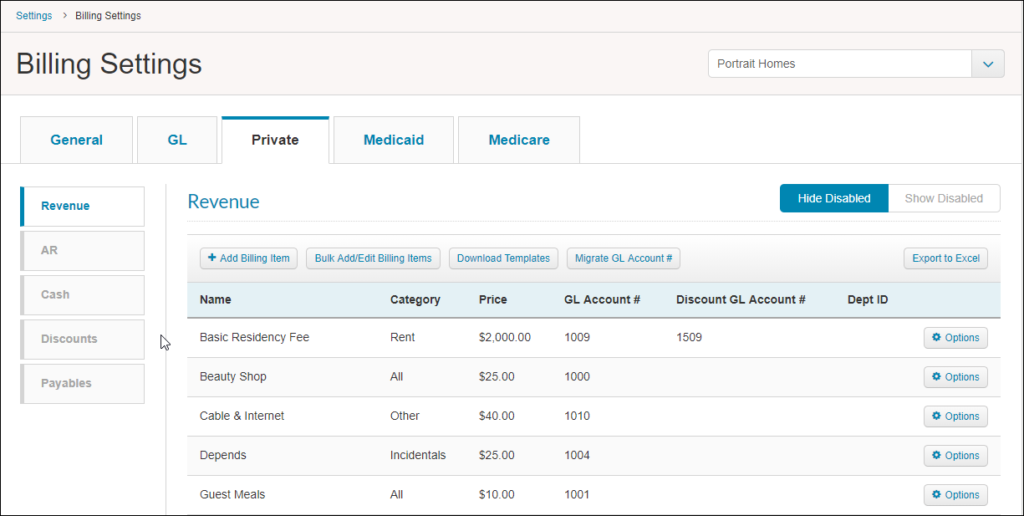
- Click the button at the top left of the table +Add Billing Item.
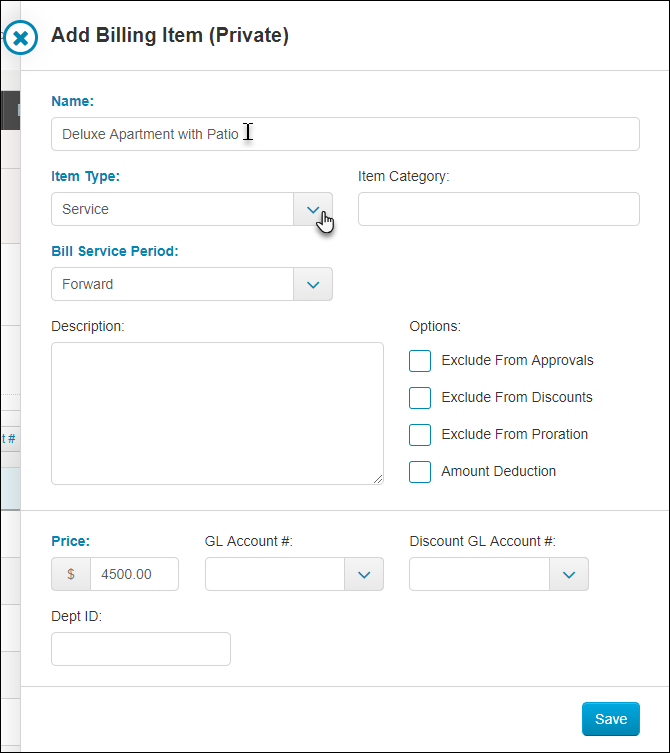
- From the pane that opens on the right, we will add the name of the item, select an Item Type, and make sure the Bill Service Period is correctly set. Most of the time this should be Forward.
 Here is an explanation of each Item Type:
- Transactions are one-time charges. Examples of this are most of your incidental charges – beauty shop charges, guest meals, and supplies.
- Services will always have a date range associated with them, and when you add these to an account, you will be required to select the date range (two dates) for which the charge is being applied. These charges may be monthly and in some cases you prorate them, such as Rent and Care services.
- Per Diem Services are different because the price is determined by number of days instead of the percentages of days in a monthly charge. Some rent charges are Per Diem Services.
- Once you click Save for a new billing item, it should appear in the table. To make any changes to it, use the Options button toward the right for this item and select Edit.
- The other buttons above the table – Bulk Add/Edit Billing Items and Download Templates – will allow you to add or edit all of your items on a spreadsheet, and then upload them. This may be much more efficient than adding each item as explained above, depending on how many you have to do!