
Merge Resident Profiles
Sometimes it is necessary to remove a duplicate resident profile. Mistakes happen!
If you have two resident profiles in ALIS for the same person, we have a fancy tool to help merge all the information as efficiently as possible to one profile.
How to Merge Two Resident Profiles
Our tool is a workflow that helps you merge all details onto one profile (the ‘Primary Profile’) and then set the other profile as a Rejected Applicant profile. This record will exist in ALIS because someone created it, but it will not affect your census or be available information for anyone unless they attempt to look for it.
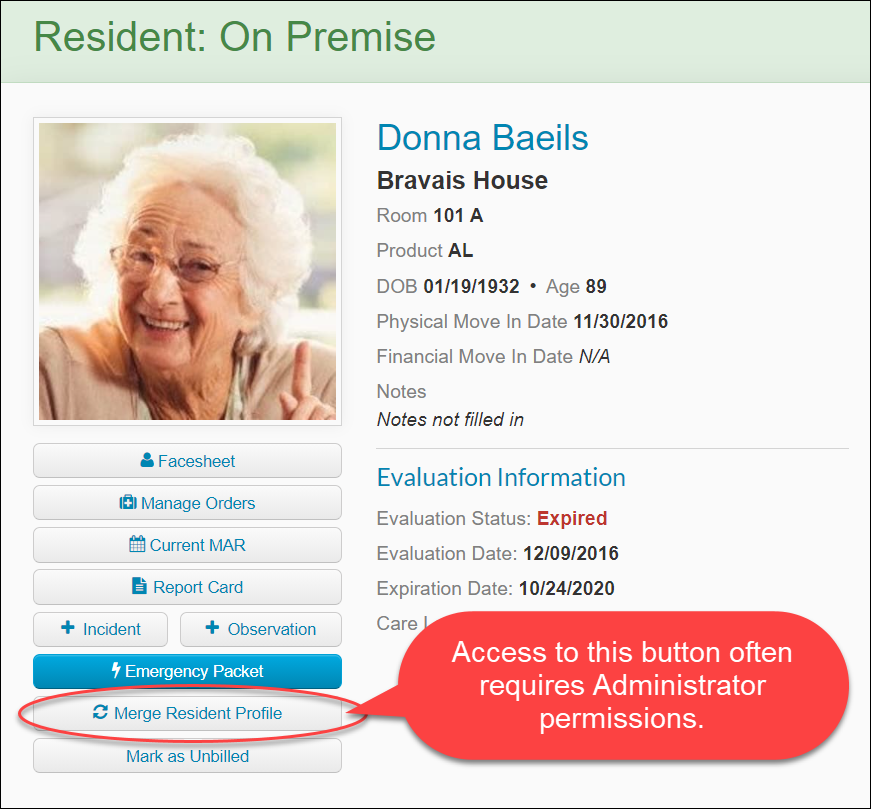
- First, go to either resident profile. It does not matter which one! Click the the Merge Resident Profile button under the photo area beneath the Emergency Packet button. If you do not have this button available, this is likely due to your ALIS Security Role. People with the Administrator roles should be able to do this. Contact ALIS Support for help.
- Once you are one the Merge Resident page, you are taken through a workflow from left to right, through each of the five tabs across the top.
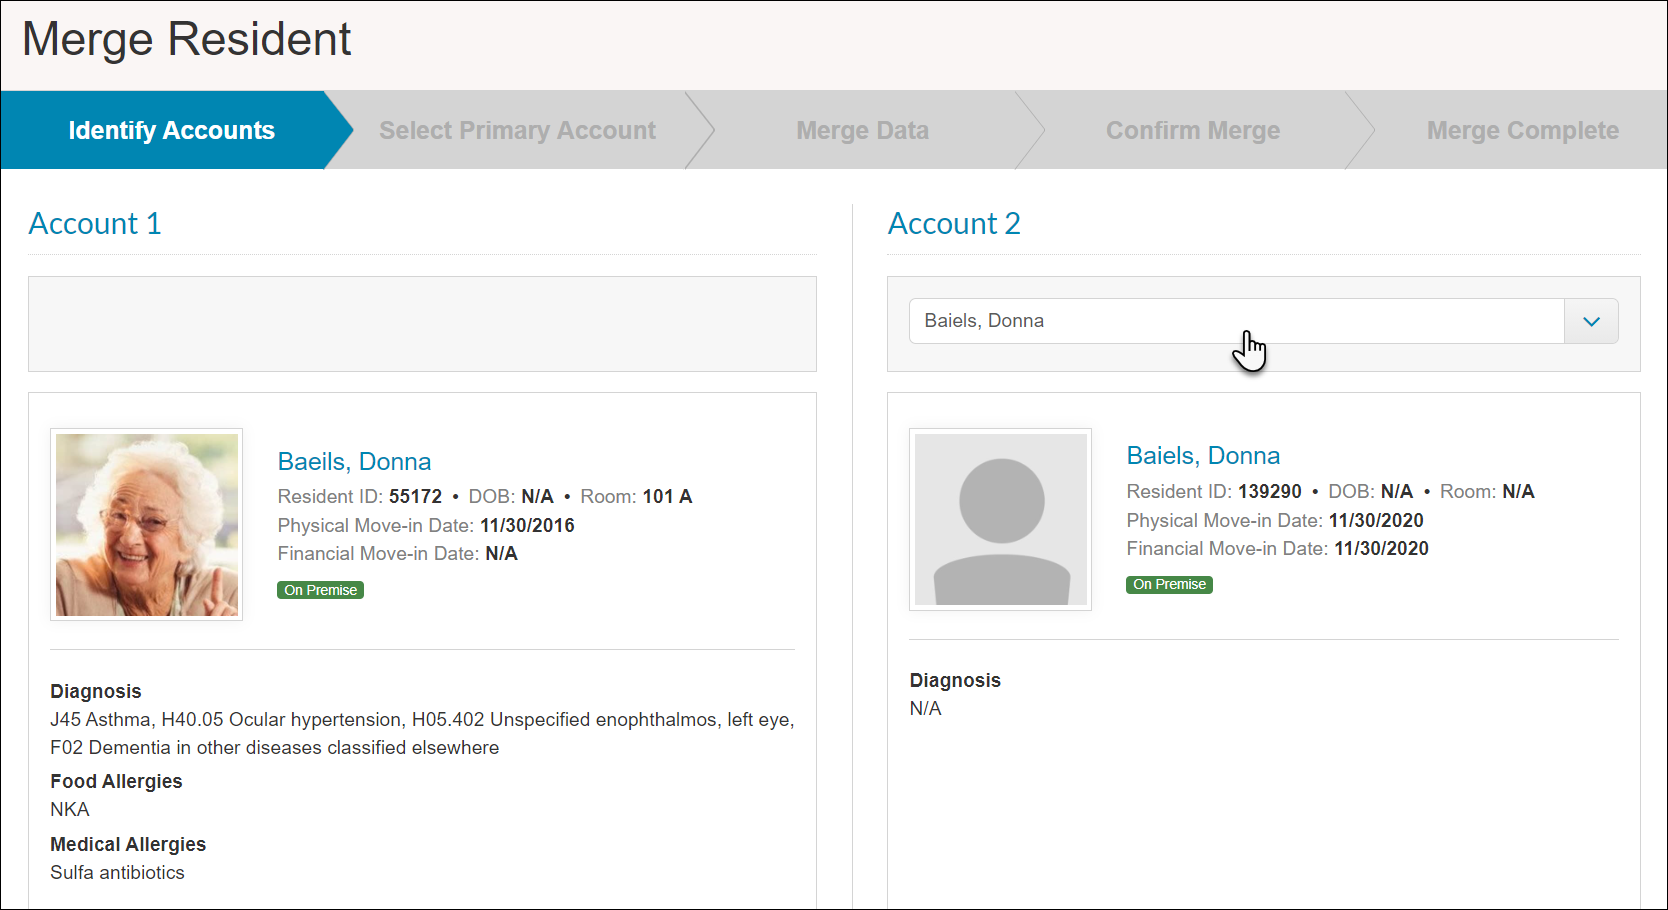
- In Identify Accounts, we have our resident on the left side designated as Account 1, and we need to select the duplicate profile on the right side from the list under Account 2. At the bottom right, click Go To Next Step.
- In Select Primary Account, you want to review all the information as carefully as you can so that you do not lose any information that was entered on either profile.
-
- To decide which profile should be primary, always go with the profile with the most billing details added. Billing information can not be transferred to the primary profile. Before you choose, scroll down to look at the Billing Information section. Hopefully only one of the profiles has any invoices, payments, credits, and recurring charges set up. This is the profile you want to Set as Primary.
- Scroll back to the top and make sure the correct account is displaying ‘This account will become primary” in green text above the resident’s photo. If this is not the right account, click the green Set as Primary button to the right of the name for the correct account to change this.
- Click Go To Next Step at the bottom right.

-
- Next, we are in the Merge Data section. This is where we will be able to view all of the main pieces of data from the duplicate account to be rejected in order to populate the primary account selected in the previous step. Please read all the details carefully!
-
- As you scroll down the page, we have different checkboxes to show what information is filled in on this duplicate account. If nothing has been added, the checkbox will be unchecked by default and you don’t need to worry about that section. If you are confident that you don’t need the information on this account for any of the other rows, you can uncheck those boxes. We will review all the specifics in the next tab.
- Click Go To Next Step.
-
- In the Confirm Merge tab, we verify the primary account at the top again, and then go down the page to look at the pieces of data that we are going to add together (concatenate if you’re fancy) to complete the final resident profile.
-
- This takes place for anything that says “Will be merged” in green.
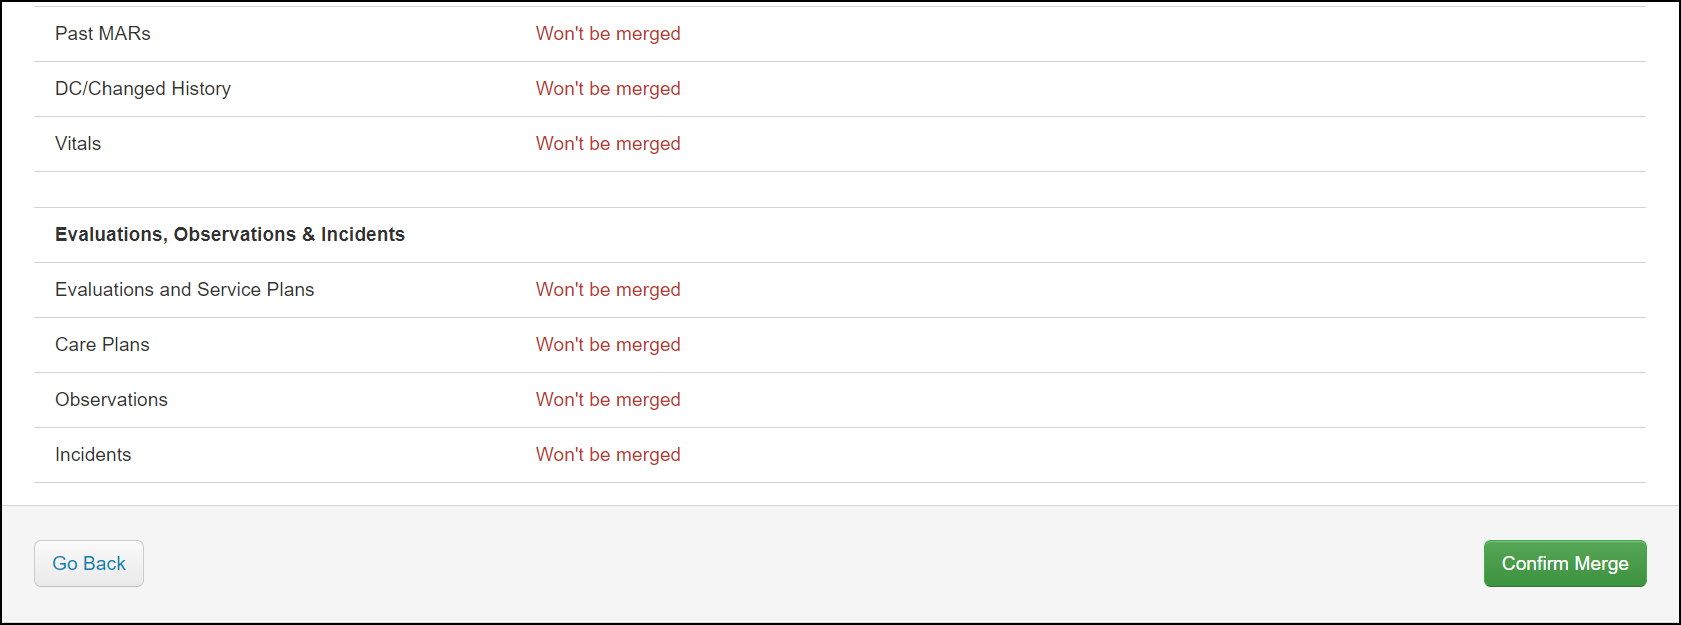
- For any row that says “Won’t be merged” in red, no details from the rejected account will be added to the primary account. Most things won’t need to be merged if the rejected profile has almost nothing added. If it appears there is a mistake with the details that should be merged, all you need to do is click the Go Back button at the bottom left of the screen to change this in the previous tab.
- When everything looks correct, click Confirm Merge at the bottom right.
-
- You are done! Click the Go To Profile to review that everything looks correct. There will be a rejected applicant profile for this person that you will find only in All Residents > Applicants > filter for Rejected.
Checklist of Profile Items to Review After Merging
- The basics: Name, DOB, Room #, Move-in Dates
- Diagnoses, Diet, Food Allergies, Medical Allergies
- Medications: Updated list of orders in Manage Orders, access to Past MARs
- Evaluation and Service Plans on File
- Published Care Plan and Care Plan Records