
Setup of Residency Agreements
To setup Residency Agreements in ALIS, first you should contact ALIS Support. Once they turn on the module for your company, you will be able to ‘enable’ Residency Agreements on a community by community basis. Here is the process to setup each community:
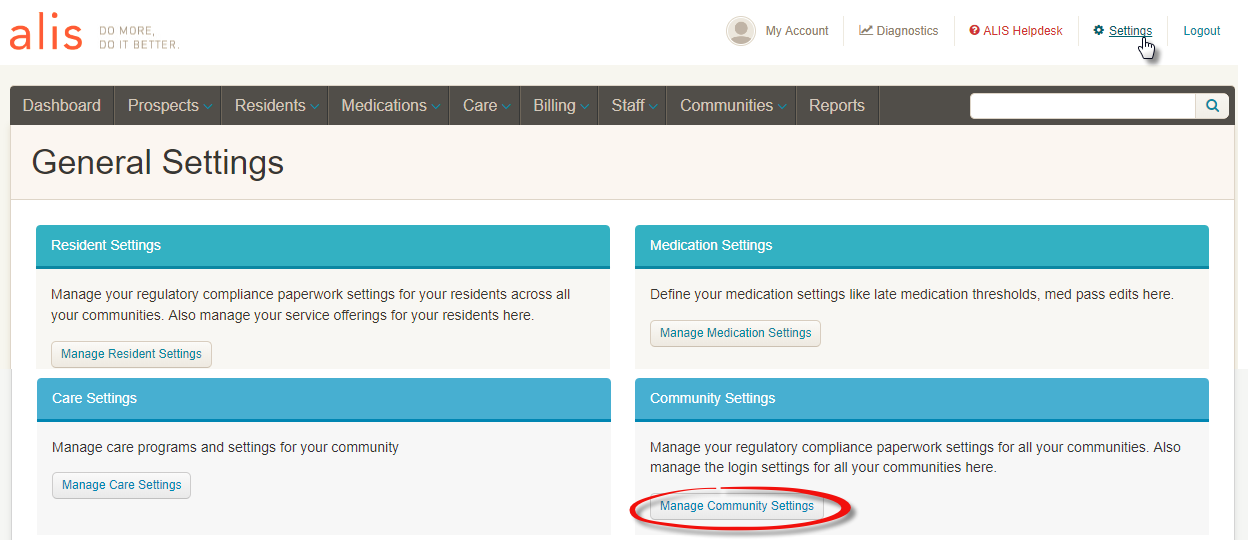
- Visit Settings and click on Community Settings. Update the Room Categories and Room Type Configuration sections as needed.
 The Room Categories refers to how you want to visually separate your occupancy in the ALIS Occupancy report. Usually the Categories will be the product types such as AL, MC, and IL. You can also use the Categories to track occupancy by hall or floor.
 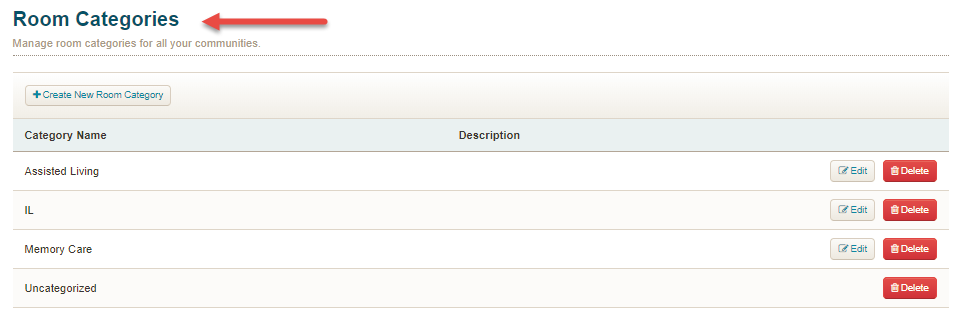 The Room Type refers to the kinds of rooms at your community, such as: studio, one bedroom, two bedroom, two bedroom deluxe, etc.
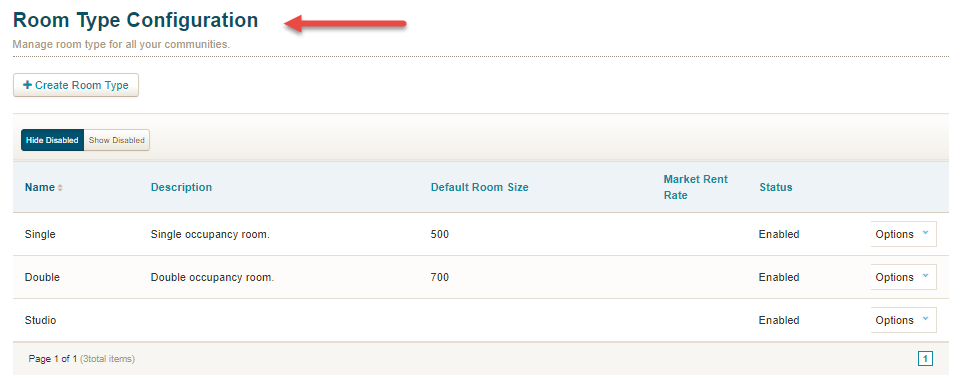
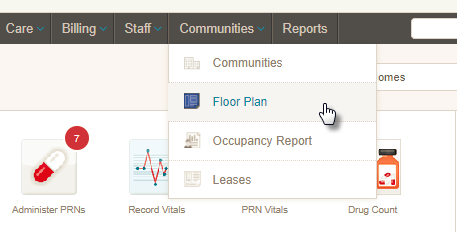
- Setup your ALIS Floor Plan. This can be done by contacting ALIS Support or following this guide.
- Go to the Setting page once again, and this time scroll down to the bottom and click Residency Agreement Settings. For the community you are working with, click the Enable button to the far right to get started, and then click the Manage button.
 A slide-out panel will open, and here you will enter a starting lease number (don’t worry – you can edit this number on a per lease basis after setting) and set whether your leases are based off a fixed rate or a per diem rate.
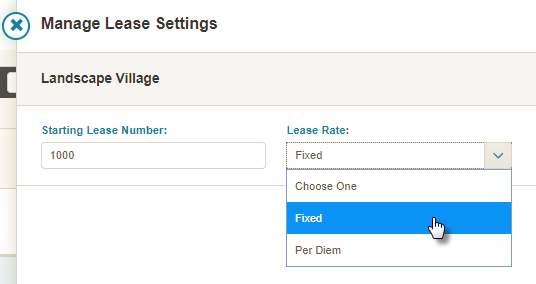
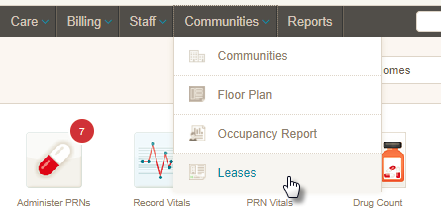
- You are ready to set up some Residency Agreements! If you want to set up multiple leases we recommend using the Residency Agreements here:
 But you can also set up an agreement on a per resident basis before or after move-in here:
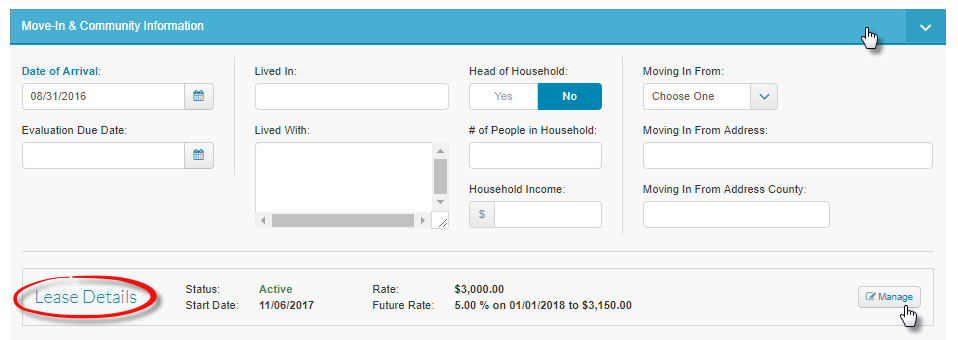
- Click Manage for the resident’s Lease. Fill out the Residency Agreements information – required fields are highlighted in blue, optional fields in gray.
Boom! Done